AI Video Editor for Course Creators and Coaches
Valmera edits recorded lessons, screen-share tutorials and coaching calls from a plain-English brief. Tell it what the learner should be able to do, and the agent cuts retakes and dead air while keeping every teaching step, zooms in on the detail that matters and adds captions. You export a full-quality MP4 for your course platform, and the same recording can also become short promo clips.
Built for online course creators, coaches and trainers. Creating an account and uploading are free; editing requires a subscription. See plans.
Edit One Lesson First
Upload a representative lesson, use the brief, and review the result. Creating an account and uploading are free.
Create an account →What Valmera does for courses and coaching
| Job | What the agent does |
|---|---|
| Recorded lessons | Cuts setup chatter, failed takes and repeated explanations, and keeps demonstrations and thinking time the learner needs. |
| Screen-share tutorials | Zooms in on the control being used, enlarges and steadies the cursor, trims waiting while things load, and adds a title card per step. |
| Coaching calls | Edits by speaker, keeps the coaching and cuts personal details, and turns the best moments into clips, with your client's permission. |
| Captions | Word-timed, burned-in captions; fix a technical term once and every caption follows. |
| Promo clips | Turns a lesson or call into vertical shorts for social, each framed and captioned. |
| Course updates | Replaces one outdated section with a new recording and keeps the rest of the approved lesson. |
Start with one representative lesson to settle your brief. Download the reusable lesson-editing brief (.md).
How to edit a recorded lesson with Valmera
- 1Write the lesson outcomeOne sentence on what the learner should be able to do afterwards, plus the steps and result they must see. Choose the delivery shape first: 16:9 for the course player, 9:16 for promo clips.
- 2Upload the recordingUpload the lesson or call as MP4, MOV, M4V, MKV or WebM, up to 14 GB and 3 hours. Valmera indexes it once: a word-level transcript with speaker labels, shots and silences.
- 3Name what must stayList the prerequisite, each action, the visible result and the exercise, by timestamp or spoken phrase. Include quiet demonstrations; a pause detector can't tell that a learner needs them.
- 4Ask for the first cutHave the agent remove setup, failed takes and repeats while keeping the demonstration in order. It renders a preview and checks it before reporting back.
- 5Add captions and emphasisAdd readable captions, fix technical terms, and zoom in only where a detail is hard to see. Keep controls, formulas and results in frame.
- 6Watch as a learner, then exportFollow the lesson from the preview. If a step went missing, ask for that source range back. Export a full-resolution MP4 and upload it to your course platform.
Coaching calls: from session to content
A recorded coaching call often holds your best teaching, mixed with personal detail that must stay private. With your client's permission, upload the call and tell the agent who is who; the transcript labels each speaker. Ask it to keep your explanation and the client's breakthrough, cut anything personal, and blur a name tag or document visible on screen. A blur covers a fixed area and doesn't follow movement, so check every second where something private appears.
The result can be a short highlight for your community, a lesson for your course, or a set of vertical clips for social. See editing by speaker and blurring faces and details.
Prompts you can paste
This lesson teaches [outcome]. Keep steps [list], the result check and the practice task, including the quiet demonstration at [time]. Remove the mic check, the failed take at [range] and the repeated recap line. Keep 16:9. No music or zooms yet.
Add clean white captions with a dark backing, positioned away from [controls]. Correct [term 1] and [term 2]. At [time], zoom gently toward [detail] while keeping [context] in frame, then return to the full screen.
S0 is me (the coach), S1 is the client. Make a 3-minute highlight of my explanation of [framework] and the client's breakthrough at [time]. Cut anything personal about the client's work or family, and add captions.
In the preview at [time], the lesson jumps from [before] to [after]. Restore source [start–end] between those moments, keep the rest of the edit, and recheck caption timing around it.
Make a 45-second vertical promo from this lesson: open on a title card naming the result, show the key step, and end on “Get the full course at [URL].” Bold captions, framed on me.
Turn Recordings into Lessons Learners Can Follow
Keep every step, lose the dead air, and get promo clips from the same upload.
Create an account →Delivering to your course platform
Valmera burns captions into the picture, so they show in every player. If learners need captions they can turn on and off, use the platform's own captioning after you upload the final MP4: Thinkific documents SRT uploads and automatic captions, and Udemy's video standards ask for at least 720p in 16:9. Both were checked September 7, 2026. Keep promo clips as separate 9:16 edits so the lesson's screen detail stays intact.
Limits
- Valmera prepares video files; quizzes, modules and learner management stay in your course platform.
- Captions are burned in, with no SRT or VTT import or export.
- No audio noise removal. Fixing a misheard word in the transcript changes the caption, not what was said.
- A blur covers a fixed area of the frame; it doesn't follow movement.
- No team seats yet. Exports end with a brief Valmera end card.
New to Valmera? Follow the getting-started guide, read how the AI video editor works, or connect an assistant through the MCP server.
Frequently Asked Questions
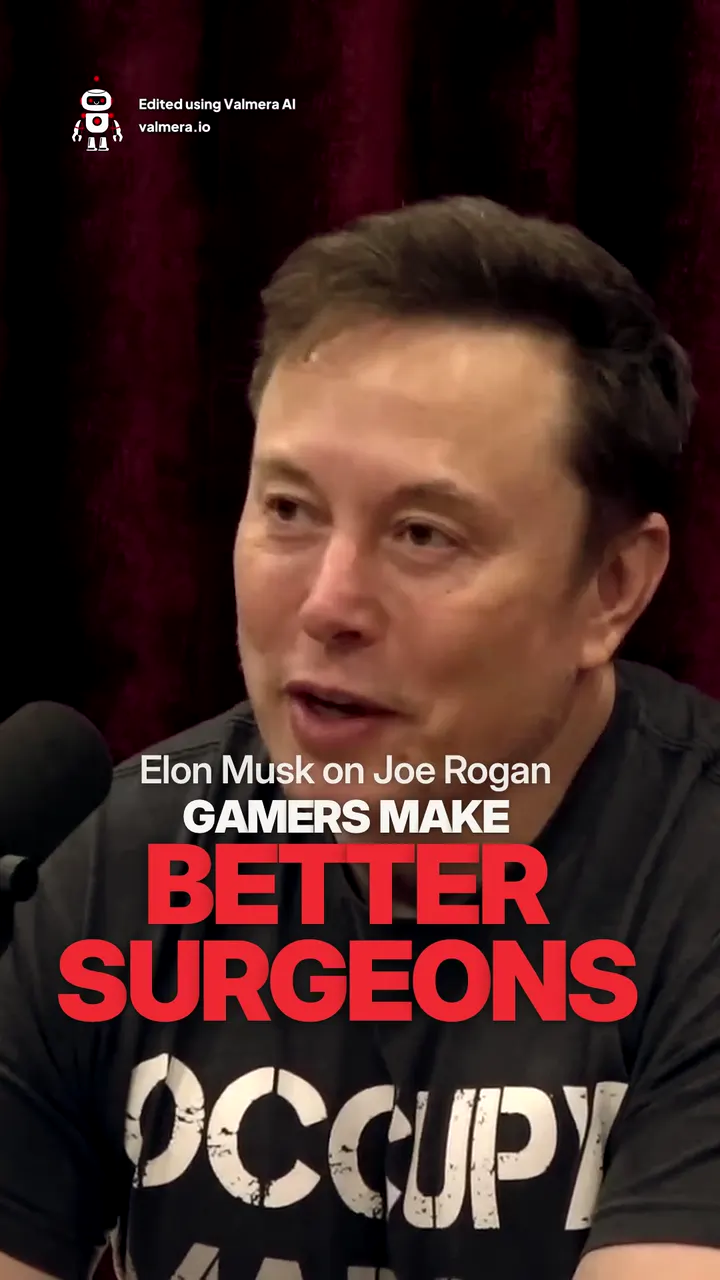
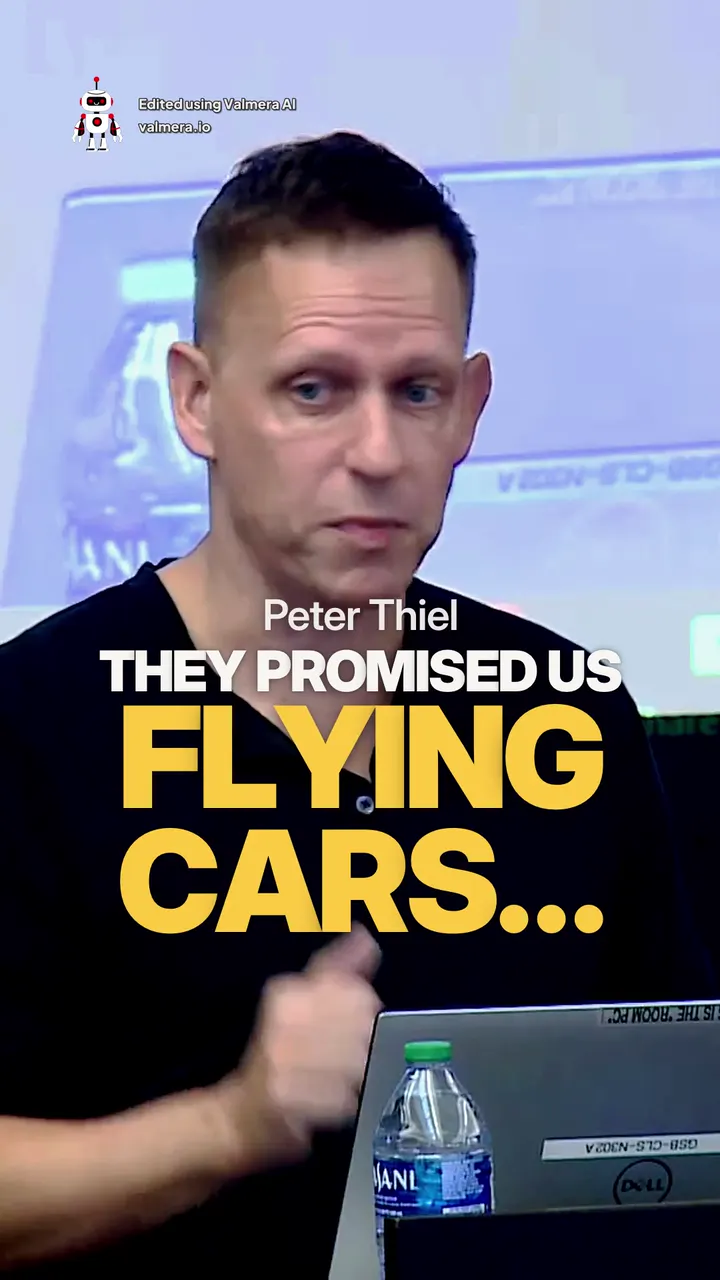
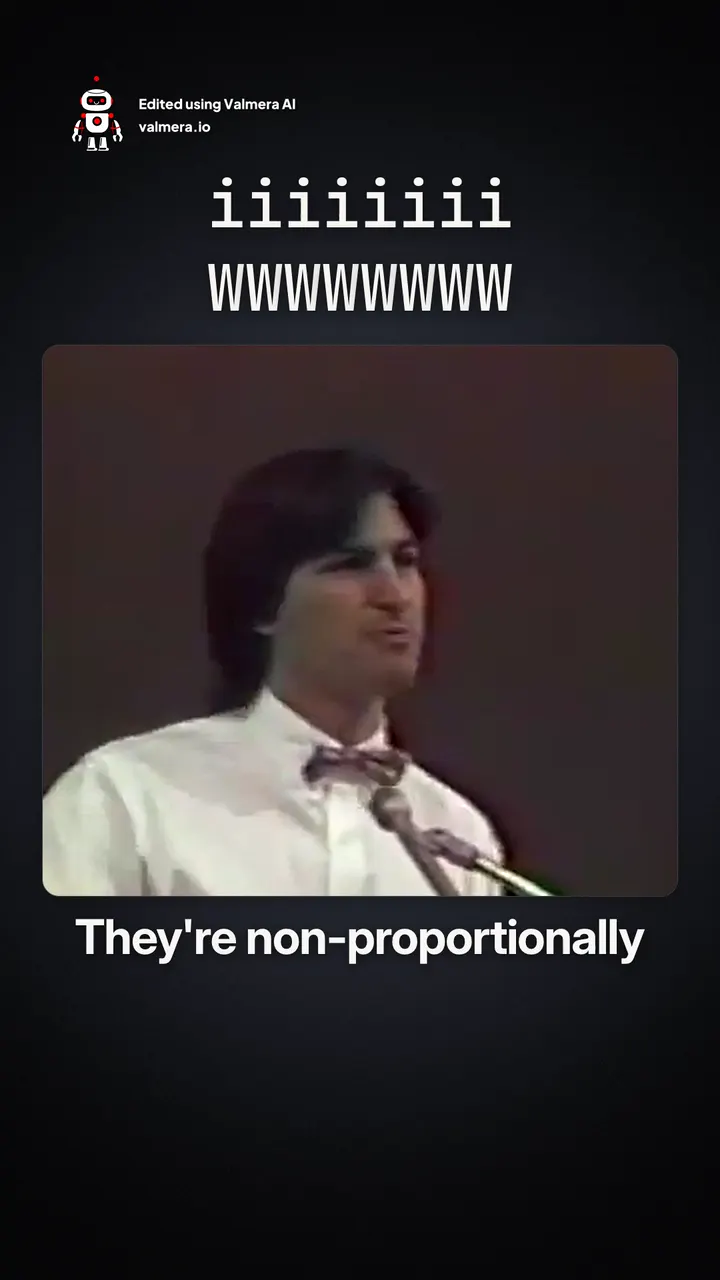
Made with Valmera: real exports
Edit Your Course with Valmera
Lessons and coaching calls into clean videos, captions and clips, from plain-English requests.
Create an account →