AI Podcast Editor and Clip Maker for Video Podcasts
Valmera is an AI video podcast editor. Upload the episode and describe the edit: the agent cuts dead air and filler words, frames whoever is speaking, adds captions and masters the sound, then turns the episode into vertical shorts for TikTok, Reels and YouTube Shorts. You review each preview and revise by chatting.
It works from a word-level transcript that labels every speaker, so you can edit a two- or three-person show by name instead of by timestamp. Creating an account and uploading are free. Editing requires a subscription. See plans.
Edit This Week's Episode
Upload the recording, describe the edit, and review the cut. Creating an account and uploading are free.
Create an account →What Valmera does for a video podcast
Built for hosts and producers who record video and publish the episode plus clips every week. One project covers the jobs below; each one is a sentence in the chat.
| Job | How Valmera handles it |
|---|---|
| Clean up the episode | Cuts pauses of 0.5 seconds or longer (snapped to word edges, so no word is clipped), um and uh fillers, false starts and repeated takes. Every cut can be restored. |
| Edit by speaker | Every transcript line carries a speaker label (S0, S1, …), so “keep only the guest's answers” or “cut the host's restarts” works without hunting for timestamps. |
| Keep the speaker in frame | Aims each section of a 9:16 crop at whoever is talking, or keeps the whole two-shot in frame with room for a headline and captions. |
| Caption | Word-timed, burned-in captions in presets such as podcast, karaoke and spotlight. Fix a misheard name once and the captions follow. |
| Mix and master | Ducks your theme music under speech and normalizes the final mix to -14 LUFS with a -2 dBTP ceiling, in the preview and the export. |
| Make shorts | Watches the whole conversation, picks complete stories of 10 seconds to 2 minutes, and turns each one into its own vertical short. |
| Export | You export a full-resolution H.264 MP4, rendered from your original upload. |
The details live in the tool guides: podcast cleanup, filler-word removal, auto reframe, captions and the AI clip maker.
How to edit a video podcast in Valmera
- 1Upload the episodeUpload the recording as MP4, MOV, M4V, MKV or WebM, up to 14 GB and 3 hours per file. Valmera indexes it once: a word-level transcript with speaker labels, shots, silences and a fast preview copy.
- 2Tell the agent who is whoMap the labels to people (“S0 is Maya, the host; S1 is Dev, the guest”) and give the spelling of names, companies and terms. Correct any misheard word in the transcript panel.
- 3Clean up the episodeAsk for the cleanup and name what to protect: laughter, a deliberate pause, a passage that must stay untouched. The agent edits, renders a preview, checks its own frames and audio, then reports back.
- 4Frame, caption and masterKeep 16:9 for YouTube, or ask for a 9:16 version framed on whoever is talking. Add captions, a name title for each guest, your theme music under speech, and the -14 LUFS master.
- 5Turn the episode into shortsAsk the agent to make shorts, or choose Shorts on the upload screen and press Make shorts. Each complete story becomes a card; press Edit reel and an editing agent cuts, frames, captions and checks that short. You can also ask for one specific moment.
- 6Export and postExport the episode as a full-resolution MP4 and export finished shorts together with Export ready shorts, up to 30 at a time. Download the files and post them to YouTube, TikTok, Instagram or your podcast host.
Indexing runs once per upload, with visible progress; longer episodes take longer before the first edit.
Multiple speakers: keeping the right person on screen
A vertical frame holds one face comfortably, so a two-person show needs a decision for every section: who is on screen, and when the reaction matters more than the answer. Valmera makes that decision from the speaker turns in the transcript. Pick the row that matches your recording.
| Your recording | How the agent frames it |
|---|---|
| One wide camera, both people in frame | The agent aims a 9:16 crop at whoever is speaking in each section, using the speaker turns in the transcript and the faces it finds in the frame. When the reaction matters, it keeps the whole two-shot inside the vertical frame, with a headline above and captions below. |
| Side-by-side recording (Zoom, Riverside or StreamYard layout) | Both people already share one frame. The agent crops to the half that is talking, section by section, so each guest fills the vertical frame on their own answers. |
| A separate camera for each person | Upload one camera as the main video and the others as clips, and give the sync point (for example, a clap at 0:04 on camera A and 0:07 on camera B). The agent can cut to another angle for the sections you choose while the main audio keeps playing, or build a short side-by-side panel of two or three cameras. |
These are framing choices made per section, not continuous tracking: inside a section the crop holds still, and it moves to the next speaker at the turn. If someone leans out of frame, ask for a wider crop or the full two-shot for that section. Side-by-side panels last up to 20 seconds each and carry no sound of their own, so the conversation audio comes from the main recording. Valmera doesn't sync cameras or switch angles automatically. The reframing docs cover crop, fit and blurred-backdrop modes.
Turn a podcast into shorts automatically
Ask the agent to make shorts, or start a project in Shorts mode, add a short you like as an optional style reference, and press Make shorts. Valmera watches the whole conversation instead of harvesting quotes. It looks for complete stories with a setup, a development and a payoff, 10 seconds to 2 minutes long. When an answer would start without its question, it pulls the question back in. If an episode has no moment that stands on its own, it returns fewer clips rather than padding the set.
Each story becomes its own project on a board of cards. Press Edit reel and a fresh editing agent cuts the hook, frames the speaker for 9:16, captions the short, adds b-roll, text or sound effects where they help, renders a preview and checks it before handing back. Revise any short by chatting, then use Export ready shorts to render up to 30 finished shorts in one go.
With the MCP server, Claude, ChatGPT or another assistant does the same work: it picks the story ranges, opens each short, saves edits for up to 30 shorts per request, and exports each final MP4.
Prompts you can paste
Swap in your names, times and topics. Send one at a time and review the preview in between.
S0 is Maya (host), S1 is Dev (guest). Cut dead air and ums, remove false starts and repeated takes, but keep laughter and the pause before Dev's big answers. Leave 12:40–15:10 untouched. Add podcast-style captions, my theme track under the intro, and master to -14 LUFS.
Make a 9:16 version that frames whoever is speaking and switches at each speaker turn. When they laugh or talk over each other, show the full two-shot with captions below. Add “Dev Patel, founder of Northwind” as a name title the first time Dev speaks.
Make shorts from this episode: complete stories about pricing, hiring and the first product, 30–90 seconds each. Start each one on the question that sets it up and end after the payoff. Bold podcast captions, no music.
Cut the story where Dev explains why they shut down the first product into one 60-second vertical clip. Open on his line “We had forty customers and none of them paid,” keep his answer to Maya's follow-up, and end on the lesson.
Make a guest-only version: remove Maya's questions except where an answer makes no sense without one, and show those questions as short on-screen text instead.
Make Shorts from Your Last Episode
Upload it once, get a board of complete stories, and edit each one to your direction.
Start a podcast project →Choosing an AI tool for podcast clips
Most podcast clip tools are good at something different. This summary comes from each product's own pages, checked October 6, 2026.
| Tool | Best for | What it offers |
|---|---|---|
| OpusClip | High-volume automatic clipping | Finds highlight moments, reframes with AI object tracking, adds captions and brand templates, and publishes to social platforms in one click. |
| Riverside Magic Clips | Recording and clipping in one place | Picks highlights from Riverside recordings or uploads; you can choose the speaker or topic to focus on, with presets for TikTok, YouTube and Instagram. |
| Descript | Editing the episode as text | Transcript editing with Automatic Multicam, Studio Sound, filler removal and Create Clips, with publishing to YouTube. |
| Vizard | Batch clips plus team publishing | Finds and reframes highlights for TikTok, Reels and Shorts, generates many clips at once, and publishes directly, with a team workspace. |
| Valmera | Complete stories edited to your direction | Picks whole stories, then an agent edits each short (cuts, speaker framing, captions, b-roll) and revises it in chat. Edit by speaker, -14 LUFS master, and MCP automation. No direct publishing. |
For TikTok specifically: if you want dozens of clips posted on a schedule, a clip-first tool will be faster. If you want each clip to tell a whole story, framed on the right speaker and revised until it's right, that is what Valmera is for. Head-to-head pages: Valmera vs OpusClip, Valmera vs Descript and Valmera vs Vizard.
Limits
- No noise removal or per-microphone leveling inside one mixed track. Fix noisy audio before upload.
- Framing is chosen per section, not tracked continuously, and separate cameras are not synced automatically.
- The main recording plays in recorded order. For a cold open, upload the moment as a separate clip.
- One loudness target: -14 LUFS. Master an Apple Podcasts audio feed (about -16 LKFS) separately.
- Captions are burned in; there is no SRT or VTT import or export.
- No direct publishing to YouTube, TikTok or Spotify, and no team seats yet. Exports end with a brief Valmera end card.
- English is the best-tested transcription language.
New to Valmera? Start with the getting-started guide or read how the AI video editor works.
Frequently Asked Questions
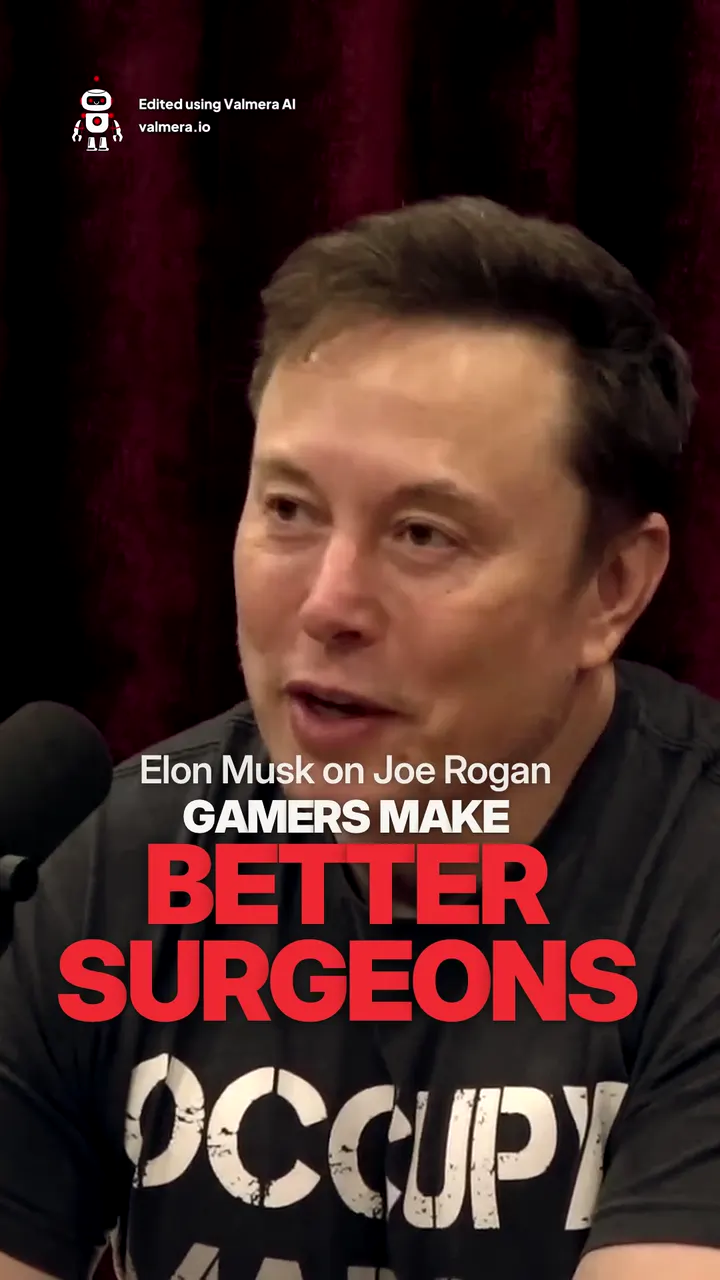
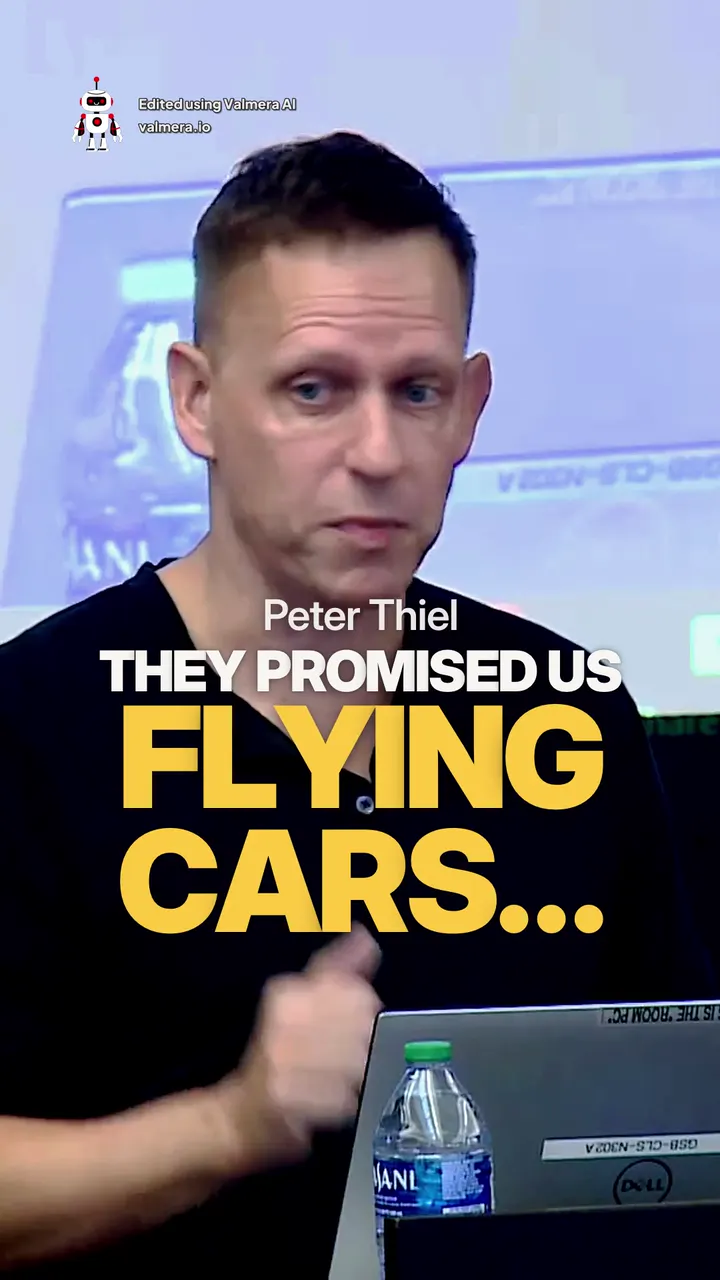
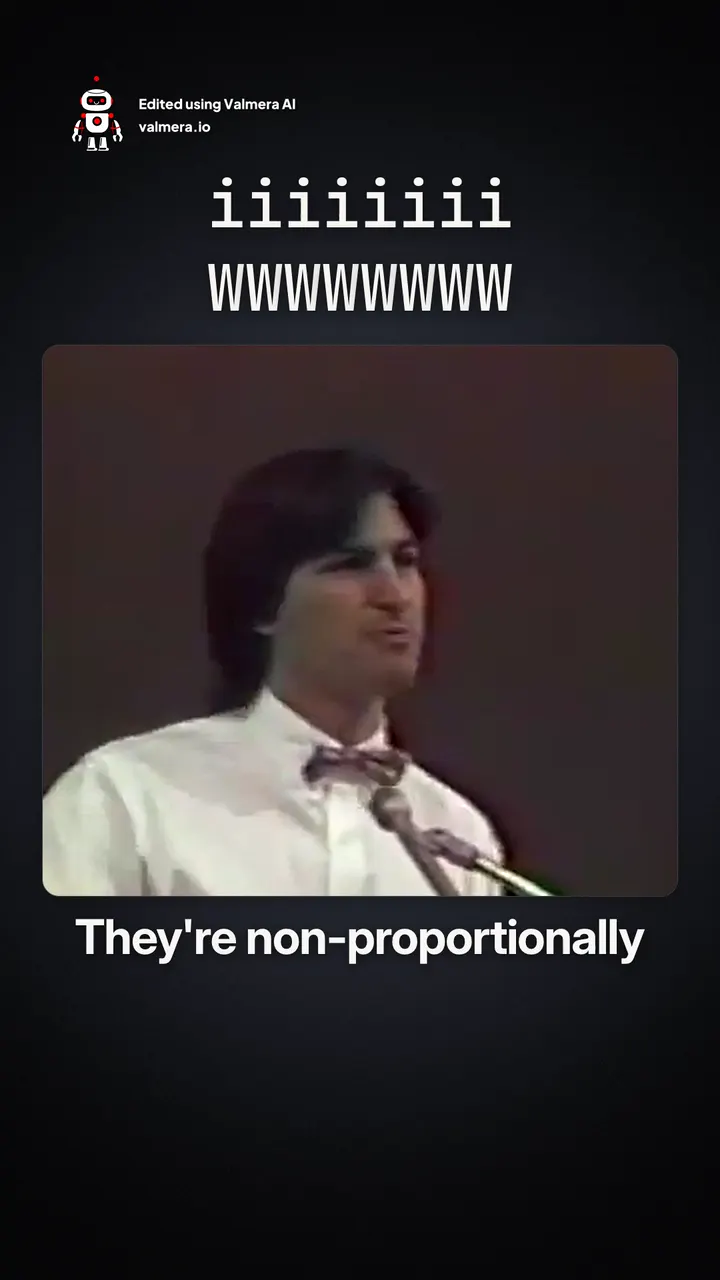
Made with Valmera: real exports
Edit Your Next Episode with Valmera
Clean episode, speaker-framed shorts, captions and a -14 LUFS master, all from plain-English requests.
Create an account →