How to Edit Talking-Head Videos with AI
Edit a talking-head video in six passes: cut the silences, filler words and repeated takes; punch in on the words you stress; add word-timed captions; grade the image; add music that ducks under your voice; then reframe and export. In an agentic editor like Valmera each pass is one sentence you type, and this guide gives you the exact wording for every stage.
Before you start: one upload, one analysis
Upload the raw file (MP4, MOV, M4V, MKV or WebM, up to 14 GB and 3 hours). Valmera analyzes it once into a word-level transcript, silences and shots, and every later pass uses that: silence removal needs to know where words end, filler removal which words are fillers, punch-ins which words you stressed. Don't pre-trim in another app; the agent needs your false starts to pick the good take.
The talking-head edit in four moves
- 1Upload the raw recordingUpload the unedited file, false starts and dead air included. It's analyzed once into a word-level transcript, with visible progress on longer recordings.
- 2Send the cleanup pass“Cut out the silent parts, remove every um and uh, and where I said a line more than once, keep the last take.” The agent does all three and renders a preview.
- 3Layer the polish one request at a timePunch-ins, then captions, then the grade, then music under your voice. Check the preview after each.
- 4Reframe and exportAsk for the aspect ratio you need, review it, then export. The final render comes from your original upload, not the preview copy.
The agent renders a preview after each request and checks its own frames and audio before reporting back.
Pass 1: cut the dead air, the fillers and the bad takes
This pass removes the most time and does most of the pacing work. It holds three jobs; send them separately so each result is easy to judge.
Silences:
"Cut out all the silent parts, but leave a little breathing room around each cut."
By default this cuts pauses of half a second or longer, keeps a little padding, and snaps each cut to a word edge so syllables aren't clipped. If a cut removed a pause you wanted, say "put back the pause before I say 'here's the twist'" and it comes back. See remove silence.
Filler words:
"Remove every um, uh, er and ah."
"Also cut 'you know' everywhere I use it as a filler."
The first request handles the hesitation sounds from exact word timings. The second targets a habit phrase by name; listen back before you keep it, because some of them carry rhythm. See filler-word removal.
Repeated takes:
"I fluffed several lines and said them again. Find the repeated takes and keep the last one each time."
The agent finds lines you restarted and keeps the last attempt by default. If an earlier one was better, say so: "for the pricing line, use the first take." More on repeated-take removal.
Pass 2: punch in on the words you stress
One person in one static frame stops registering after a while. A punch-in pushes the frame in slightly when you make a point, which reads as emphasis rather than an effect. Do it after the cuts, because punch-ins sit at moments in the final timeline.
"Add punch-ins on the words I stress most, but keep them sparse."
The agent finds the words you stressed from your actual delivery and pushes in on a few of them, aiming at your face. You can also place zooms yourself:
"Punch in on my face at 2:14 and hold until I finish the sentence."
"Zoom into the product on the desk at 3:05, then ease back out."
Zooms can snap or ease, and they can frame a region (a product, a whiteboard corner) or push in on a point. See zoom effects and punch-ins.
Pass 3: captions
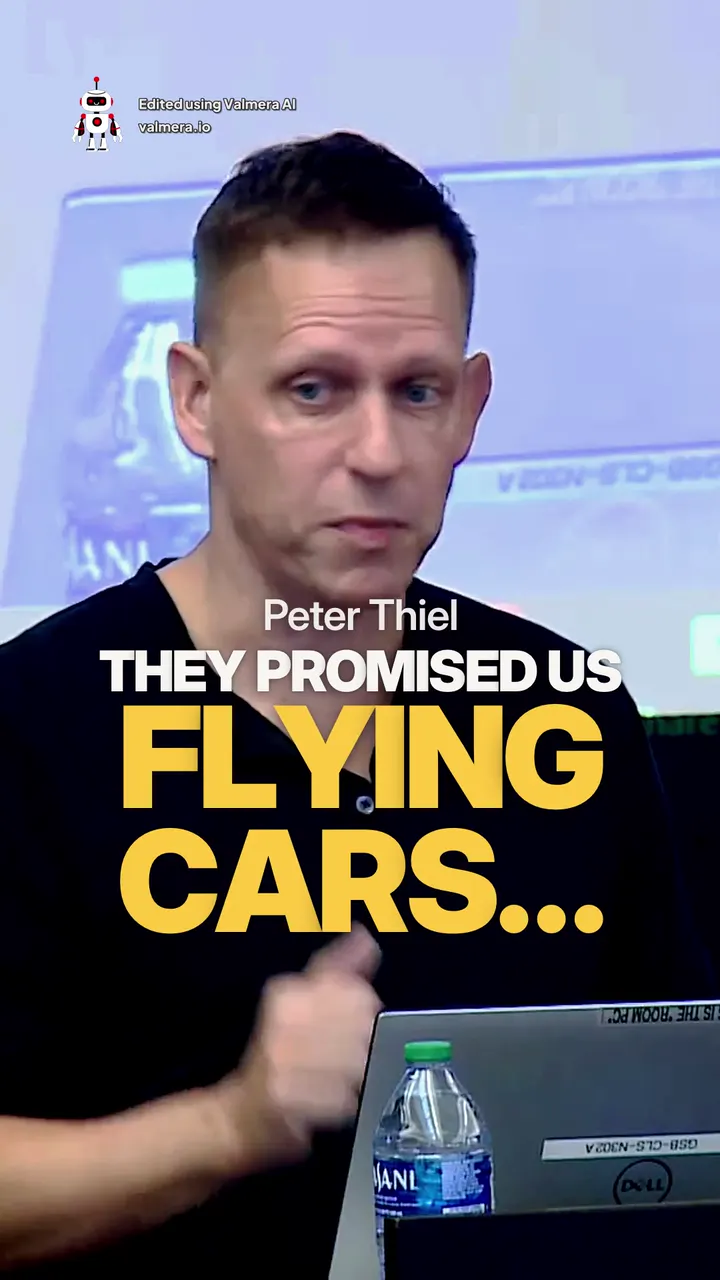
Many viewers watch muted, and moving text holds the eye through a static shot. Captions come from the same word-level transcript as the cuts, so they're timed to the words.
"Add captions in the podcast preset, four words per line, at the bottom of the frame."
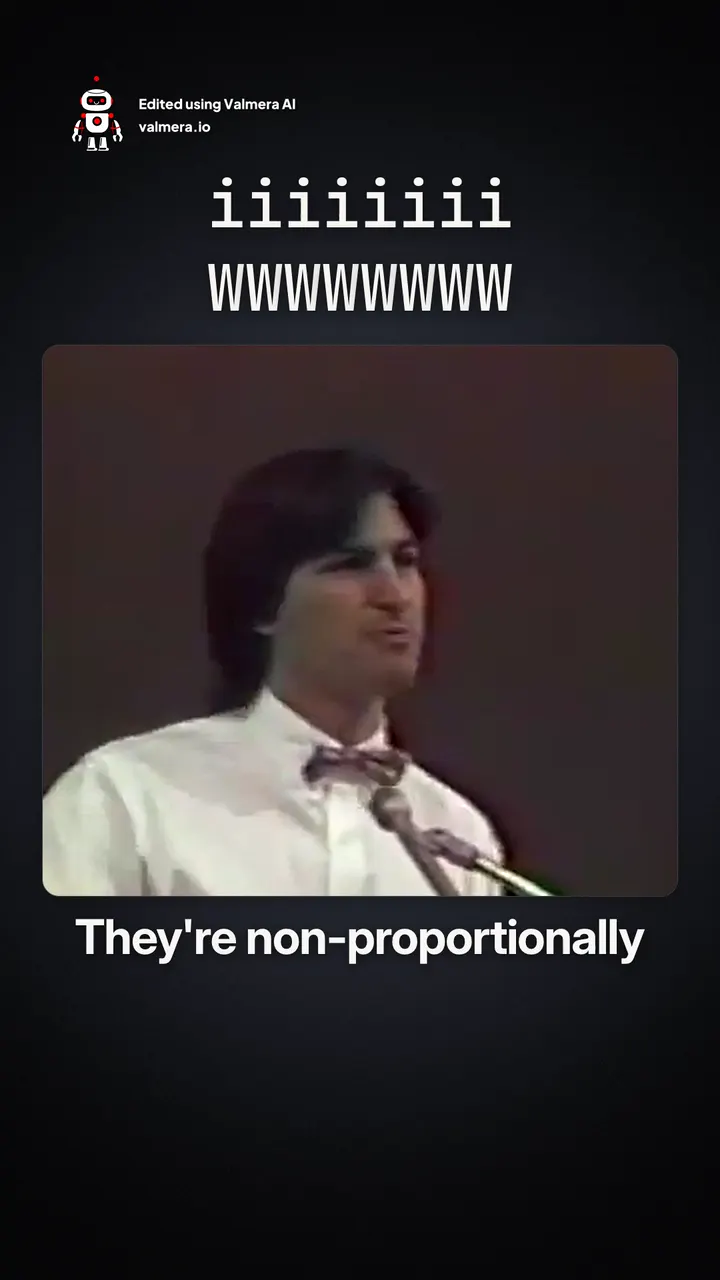
"Use karaoke captions instead, highlighting each word in yellow as I say it."
"Make the word 'never' huge and in the accent color every time it appears."
Presets include clean, documentary, podcast, reels, beast, karaoke, spotlight and elegant, with bundled fonts, sizes from S to XL, top, middle or bottom placement, and per-word emphasis. If the transcript got a name wrong, fix it once and the captions update. Captions are burned into the video; there's no SRT or VTT file. See add captions and the captions docs.
Pass 4: color and look
"Give the whole video the cinematic grade."
"Lift the exposure slightly, add a bit of contrast, and warm it up."
Six grade presets (vibrant, warm, cool, black and white, vintage, cinematic) combine with custom exposure, contrast, saturation and temperature. Stylize effects such as film grain, vignette, glow and halation can cover the whole video or one moment. If the picture is soft or grainy, ask to sharpen or clean up the image.
"Give it the clean look."
A look sets captions, grade, transitions and fades together in one request: hype, clean, cinematic, luxury or meme. Every piece stays adjustable. For talking heads, clean and cinematic usually suit. See color grading.
Pass 5: music that sits under your voice
The common mistake is a track that fights the voice, turned down until it's mush. A better mix pulls the music back when you speak and lets it come forward when you stop. Upload a track you own or have the rights to (MP3, WAV, M4A, AAC or OGG, up to 50 MB), or name a specific song and the agent finds the official recording for you to fetch; licensing it is up to you.
"Put my uploaded track under the whole video and duck it under my voice."
"Fade the music in over the first two seconds and out at the end, and drop it a bit during the story section."
"Master the audio to -14 LUFS."
Ducking follows your actual speech rather than a fixed volume. The master normalizes the final mix to -14 LUFS with a -2 dBTP ceiling, the common target for YouTube and social video, so your video isn't quieter than the next one. For punctuation, ask for a whoosh on a cut or an impact on your strongest word: the agent finds a real recorded sound effect, tells you its license terms, and places it where you asked. You can also upload your own. See add music with ducking and add sound effects.
Pass 6: reframe and export
"Make a 9:16 version for Shorts, keeping me centered."
Talking heads reframe easily because the subject is centered and still. 16:9, 9:16, 1:1 and 4:5 are available as a crop, black bars or a blurred backdrop, and captions are laid out for the new frame. Reframing can't add detail your source doesn't have. See auto reframe.
Then export. The final is a full-resolution H.264 MP4 rendered from your original upload, not the preview copy, and it ends with a brief Valmera end card. Posting it stays with you.
The whole thing, in order
One request at a time, checking the preview between each:
1. "Cut out all the silent parts, but leave a little breathing room around each cut."
2. "Remove every um, uh, er and ah."
3. "Find the repeated takes and keep the last one each time."
4. "Add punch-ins on the words I stress most, but keep them sparse."
5. "Add captions in the podcast preset, four words per line, at the bottom."
6. "Give the whole video the cinematic grade."
7. "Put my uploaded track under the whole video and duck it under my voice."
8. "Master the audio to -14 LUFS."
After cleanup, listen to the joins for clipped words or lost meaning. After captions and reframing, check spelling, timing and the space around your face. Then export and watch the downloaded file once. The prompt guide covers sequencing and repairing a brief.
Limits
- No audio noise removal; record in a quiet room or clean the audio first.
- No mood-based music library or AI music: use your own track or a song you name and license.
- Captions are burned in, with no SRT or VTT export; no custom font uploads.
- Framing is chosen per section, not tracked continuously. No true crossfades.
- English is the best-tested transcription language.
New to Valmera? Read how the AI video editor works, the getting-started guide, or run the same passes from Claude or ChatGPT through the MCP server.
Frequently Asked Questions

Made with Valmera: real exports
Run This Workflow on Your Own Footage
Upload a raw recording, paste the first request, and watch the pacing tighten. Creating an account and uploading are free.
Create an account →